Jinko Solar Panel Installation: Key Factors to Consider
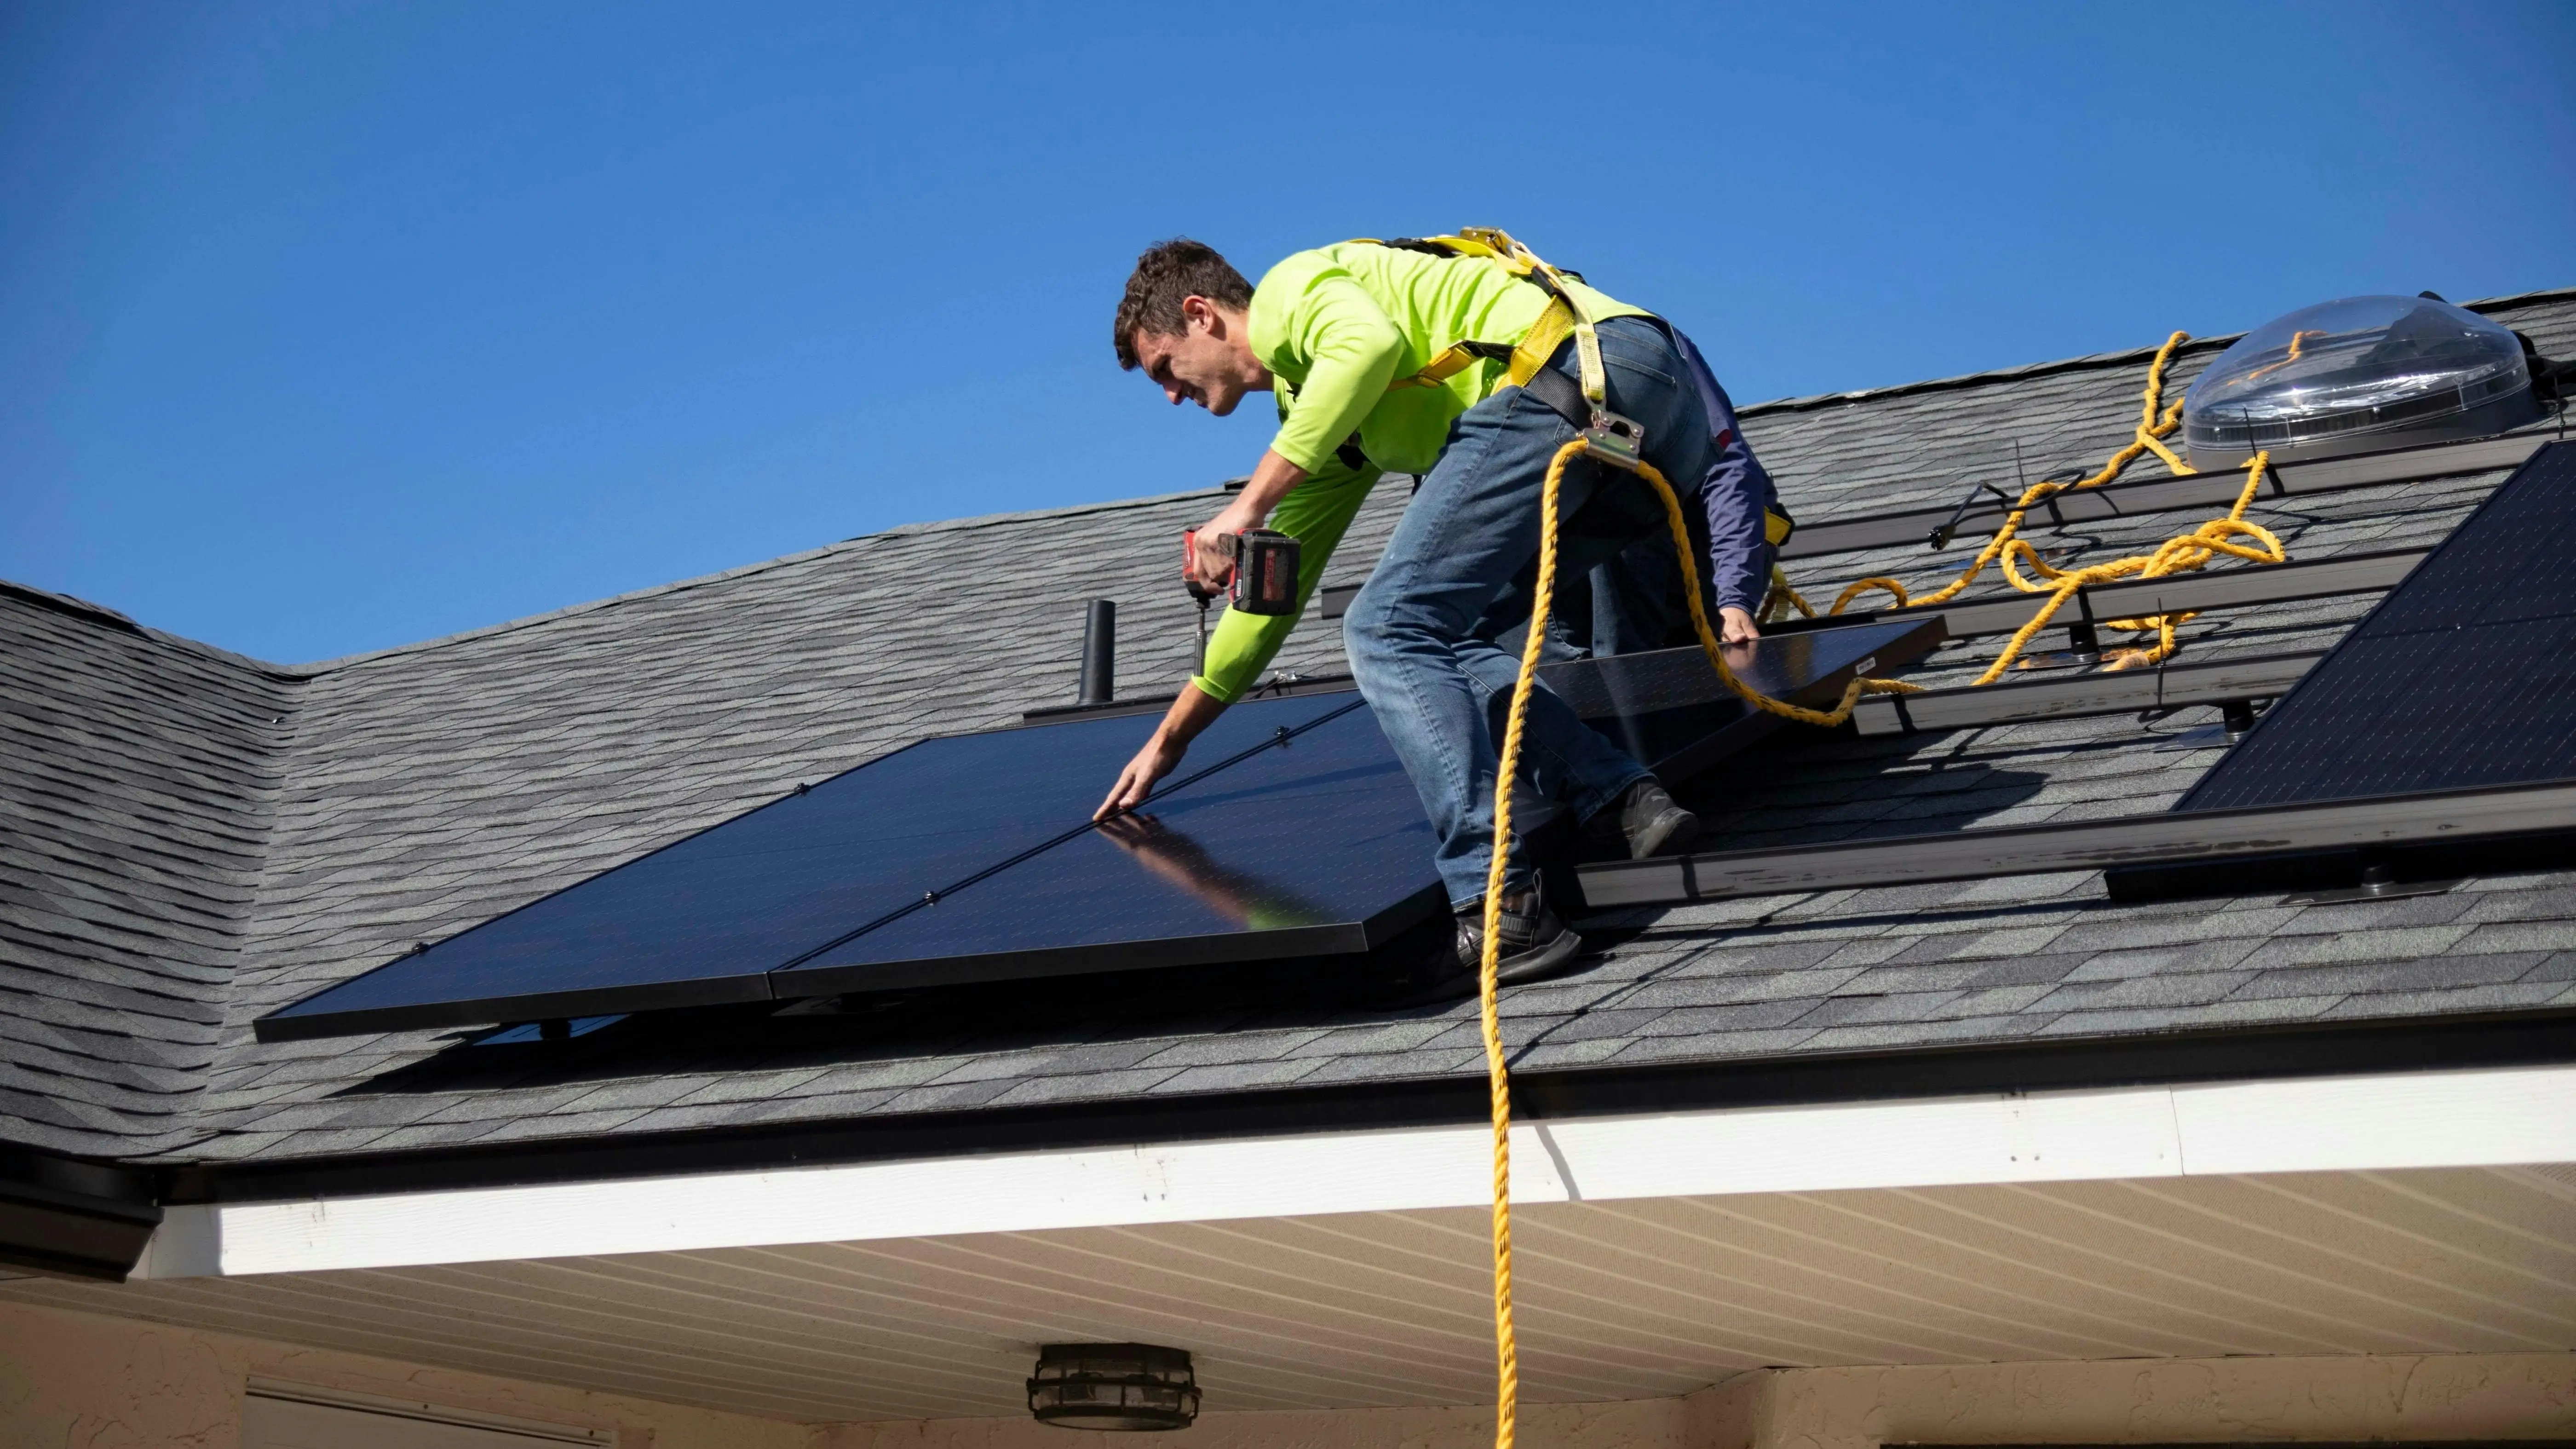
Installing solar panels involves much more than determining how many modules can fit on a roof. The installation environment, panel orientation, shading conditions, mounting structure, electrical configuration, and local weather all influence how a photovoltaic system performs over time. When using Jinko solar panels, these factors should be evaluated together with the module's electrical and mechanical specifications to create a suitable installation plan.
From the initial site assessment to final system commissioning, each stage can affect energy output, safety, and long-term reliability. Understanding the key installation factors in advance can help avoid common design and installation problems while ensuring that the selected solar panels work effectively within the overall PV system.
1. Start With a Detailed Site Assessment
Before selecting the mounting structure or determining the number of panels, the installation site needs to be assessed carefully.
A proper site survey should examine the roof or ground area, available installation space, orientation, inclination, shading, structural conditions, access, and electrical connection point.
Roof Orientation and Available Area
For rooftop solar installations, the usable roof area is more important than the total roof area.
Obstructions such as:
-
Chimneys
-
Ventilation equipment
-
Skylights
-
Water tanks
-
Roof access points
-
HVAC equipment
-
Parapets
can reduce the actual area available for photovoltaic modules.
The dimensions of the selected Jinko solar panels should therefore be considered during the preliminary layout. A high-wattage module may reduce the total number of panels required, but its physical dimensions still need to fit the available roof configuration.
For commercial projects, the layout should also consider maintenance corridors and access pathways rather than filling every available square meter with modules.
Roof Orientation and Tilt
Solar modules generate electricity based on the amount of solar irradiance they receive. Orientation and tilt therefore affect annual energy production.
The ideal configuration depends on geographic location and project objectives. A roof that cannot achieve the theoretical optimum orientation can still support a viable PV system, but the expected energy yield should be calculated based on the actual installation conditions.
For ground-mounted systems, the tilt angle can generally be designed more freely. Rooftop systems, in contrast, often need to work within the existing roof geometry.
2. Evaluate Shading Before Installation
Shading is one of the most important factors to evaluate before installing solar panels.
Even relatively small obstructions can affect system performance when they shade part of a module or a group of modules during certain periods of the day.
Potential sources of shading include:
-
Trees
-
Nearby buildings
-
Roof structures
-
Utility poles
-
Adjacent solar arrays
-
HVAC equipment
-
Parapets
The important point is that shading should not be evaluated only at noon on a clear day.
The sun changes position throughout the year. A roof that appears unobstructed in summer may experience shading during winter when the sun is lower in the sky.
Why Shading Analysis Matters
The electrical effect of shading depends on module design and system architecture. When several modules are connected in a string, the impact of shading on one module can influence the operating behavior of the string.
For larger projects, installers may use solar design software or site-specific irradiance analysis to estimate shading losses.
This information can then be used to determine:
-
Module placement
-
String configuration
-
Inverter selection
-
Module-level power electronics requirements
-
Expected annual energy yield
A good installation plan considers shading before the modules are physically installed rather than trying to solve the problem afterward.
3. Check the Roof's Structural Capacity
A solar panel system adds additional weight and mechanical loads to a building.
Although individual photovoltaic modules are relatively manageable, the complete installation includes modules, rails, clamps, mounting hardware, cables, and potentially additional structural components.
Wind and snow loads can also create significant forces on the mounting system.
For this reason, installers should evaluate the structural condition of the roof before installation.
Important Structural Factors
The assessment may include:
-
Existing roof construction
-
Roof age
-
Structural load capacity
-
Wind exposure
-
Snow load
-
Mounting-point locations
-
Roof membrane condition
-
Existing equipment
-
Fastening method
For older buildings, a structural review may be particularly important.
A solar installation should not be designed purely according to the number of modules that can physically fit on the roof. The roof must also be capable of safely supporting the complete system under applicable environmental loads.
4. Consider the Physical Dimensions of the Modules
Solar panel specifications are not limited to wattage and efficiency.
Module dimensions, weight, frame design, mounting-hole locations, and mechanical load ratings can all affect installation.
When comparing different Jinko solar panels, installers should obtain the current technical datasheet for the exact module model being considered.
This is important because product families can contain modules with different dimensions, cell configurations, electrical characteristics, and mechanical specifications.
Module Layout Matters
The layout should account for:
-
Panel dimensions
-
Row spacing
-
Roof edges
-
Mounting rails
-
Clamping zones
-
Maintenance access
-
Thermal expansion
-
Cable routing
-
Fire-access requirements where applicable
Simply calculating the number of modules based on roof area can result in an impractical layout.
A professional design should use the actual module dimensions and the manufacturer's installation requirements.
5. Select a Mounting System Compatible With the Site
The mounting structure creates the mechanical connection between the photovoltaic modules and the building or ground.
Different applications require different mounting approaches.
Common options include:
-
Rail-based rooftop mounting
-
Rail-less rooftop systems
-
Ballasted systems
-
Ground-mounted structures
-
Adjustable tilt structures
-
Specialized commercial rooftop systems
The correct option depends on roof construction, local wind conditions, installation method, and project requirements.
Follow the Manufacturer's Mounting Requirements
Solar modules have defined mechanical installation requirements.
The location of clamps, support points, and mounting hardware can affect the mechanical loading of the module frame.
Installers should therefore follow the manufacturer's installation documentation rather than assuming that all modules can be mounted in exactly the same way.
This is particularly important when replacing one module type with another during a project.
A mounting system that works for one panel design may not automatically be appropriate for another.
6. Pay Attention to Temperature and Ventilation
Solar panels do not operate at their rated laboratory conditions throughout the day.
Module temperature changes continuously according to solar irradiance, ambient temperature, wind speed, and mounting configuration.
As module temperature rises, electrical output characteristics generally change.
Why Rear Ventilation Is Important
For rooftop systems, sufficient clearance between the module and roof surface can help air circulate behind the panel.
A poorly ventilated installation can result in higher operating temperatures.
This does not mean that simply increasing the gap will always produce a major improvement. The mounting configuration should balance ventilation, structural requirements, wind loading, appearance, and roof construction.
The thermal characteristics listed in the module datasheet should also be considered during system modeling.
7. Match the Modules With the Inverter
Solar panels and inverters must be electrically compatible.
This is one of the most important technical considerations when designing a PV system using Jinko solar panels.
The installer needs to compare the module's electrical parameters with the inverter's operating range.
Important parameters include:
-
Maximum power voltage
-
Open-circuit voltage
-
Maximum power current
-
Short-circuit current
-
Maximum system voltage
-
Temperature coefficient
-
Inverter MPPT voltage range
-
Maximum inverter input current
These values should be checked under both normal and extreme temperature conditions.
String Voltage Must Be Calculated Carefully
The open-circuit voltage of a solar module changes with temperature.
At low temperatures, the module's open-circuit voltage can increase. Therefore, the maximum number of modules connected in series should not be calculated using only the nominal voltage shown on a datasheet.
The system designer should calculate the expected maximum string voltage under the lowest applicable temperature.
Similarly, the minimum string voltage should be considered under high-temperature operating conditions to ensure that the inverter's MPPT range can be maintained.
This is a technical design issue that should be verified before installation.
8. Design the String Configuration Properly
The number of modules in each string can have a direct effect on system performance and inverter operation.
A string that is too short may not provide sufficient voltage for the inverter's MPPT range.
A string that is too long may exceed the inverter or system voltage limit, particularly under cold conditions.
The design also needs to consider differences between roof sections.
For example, panels installed on different roof orientations may receive different levels of irradiance throughout the day. Connecting modules with significantly different operating conditions to the same string may reduce the effectiveness of the system's maximum power point tracking.
A well-designed system therefore considers roof orientation, tilt, shading, module characteristics, and inverter architecture together.
9. Account for Cable Routing and Electrical Losses
Electrical design does not end at the module terminals.
DC cables must be routed safely from the array to the inverter, while AC wiring connects the inverter to the building's electrical system or grid connection.
Cable selection should consider:
-
Current carrying capacity
-
Cable length
-
Voltage drop
-
Environmental exposure
-
Temperature
-
UV resistance
-
Mechanical protection
-
Connector compatibility
Long cable runs can increase electrical losses if conductor sizing is not properly selected.
Cable management is also important from a maintenance and safety perspective. Loose cables should not be allowed to hang against sharp roof surfaces or remain exposed to unnecessary mechanical stress.
10. Use Compatible Solar Connectors and Components
Solar installations contain many electrical connections, including module connectors, extension cables, branch connections, disconnect devices, and inverter terminals.
Compatibility is essential.
Installers should avoid assuming that connectors from different manufacturers are interchangeable simply because they appear physically similar.
Poor connector compatibility can result in:
-
Increased contact resistance
-
Heat generation
-
Moisture ingress
-
Intermittent electrical connections
-
Long-term reliability problems
When installing Jinko solar panels, the exact connector type and installation requirements should be confirmed from the relevant product documentation.
The same principle applies to fuses, disconnects, junction boxes, surge protection devices, and other system components.
11. Consider DC and AC Protection
A properly designed PV system needs appropriate electrical protection.
Depending on the system architecture and local regulations, this may include:
-
DC isolators
-
Overcurrent protection
-
Surge protection devices
-
Grounding or earthing systems
-
AC circuit protection
-
Rapid shutdown equipment where required
-
Lightning protection where applicable
The exact requirements vary according to system design, building type, electrical code, and jurisdiction.
For this reason, installers should follow the applicable electrical standards rather than relying on a generic solar installation checklist.
12. Grounding and Bonding Should Be Properly Designed
Grounding and bonding help provide a safe electrical path under fault conditions.
The module frames, mounting structures, inverter, and other metallic components may need to be bonded according to the system design and applicable standards.
Improper bonding can create safety problems and may also affect inspection or commissioning.
Installers should use compatible grounding hardware and follow the requirements of both the module manufacturer and the mounting-system manufacturer.
13. Consider Local Weather Conditions
A solar installation must be designed for the environmental conditions at the project location.
Two systems using the same Jinko solar panels may require different mounting solutions because they are installed in different climates.
Relevant conditions include:
Wind
High wind areas require careful attention to mounting points, structural attachment, edge zones, and uplift forces.
Snow
Snow-prone locations require appropriate structural calculations and module mechanical-load considerations.
Heat
High ambient temperatures can increase module operating temperature and influence system performance.
Humidity and Salt Exposure
Coastal installations may face increased exposure to salt and moisture. Materials and components should therefore be suitable for the environment.
Dust and Sand
In dry regions, dust accumulation can reduce irradiance reaching the module surface and increase cleaning requirements.
Environmental conditions should be included during system design rather than treated as maintenance issues only after installation.
14. Plan for Cleaning and Maintenance
Solar panels require relatively little routine maintenance compared with many industrial systems, but they are not maintenance-free.
Dust, pollen, bird droppings, leaves, and other contaminants can accumulate on the module surface.
The actual cleaning frequency depends on local environmental conditions.
A system installed in a region with frequent rainfall may require less manual cleaning than one located in a dry, dusty environment.
Maintenance Access
The initial module layout should consider future maintenance.
Installers should ensure that technicians can safely access:
-
Modules
-
Inverters
-
Disconnect equipment
-
Cable connections
-
Monitoring devices
-
Mounting components
A layout that maximizes module count but leaves no practical maintenance access can create unnecessary problems later.
Final Thoughts
A successful solar panel installation depends on how well the modules are matched with the site, mounting system, inverter, and electrical design. Factors such as roof orientation, shading, structural capacity, module dimensions, string voltage, cable routing, environmental conditions, and maintenance access should all be considered before installation begins.
When installing Jinko solar panels, the exact technical specifications and installation requirements of the selected module should always be checked rather than relying on general assumptions. Careful planning and proper installation can help maintain stable system performance, reduce avoidable technical issues, and support reliable solar power generation throughout the system's service life.
www.jasolarworld.com
jasolarworld
About Author